Building a Complete CCTV Bill of Materials: What You Really Need
Starting a CCTV Project the Right Way
I have been on both sides of the surveillance design process. Early in my career, I showed up to a job site with a box of cameras and a vague plan, thinking I could figure out the rest as I went. That mistake cost me a full day of running back to the supplier for missing connectors and a PoE switch that could actually handle the load. Since then, I have learned that a thorough cctv bill of materials is the single most important document you can create before you touch a single tool.
A cctv bill of materials is not just a shopping list. It is a detailed inventory of every component, from the camera lens to the last junction box, that defines your system's capabilities and its cost. For anyone designing a system, whether for a small retail shop or a multi-building campus, getting this document right saves time, money, and frustration. And it makes you look like a professional who has done this before.
Cameras: The Heart of the System
Your camera selection drives almost every other decision in the bill. If you choose IP cameras, you commit to Power over Ethernet infrastructure, which means PoE switches, Category 5e or Category 6 cabling, and a network-based recorder. If you go with analog cameras, you will need coaxial cable, a DVR, and possibly baluns if you want to run the signal over longer distances. I have installed both types, and each has its place.
For a typical indoor office, a 2-megapixel IP camera with a varifocal lens gives you flexibility to adjust the field of view during installation. For outdoor perimeters, you want a weatherproof housing with an IP67 rating, a mounting bracket that can handle wind loads, and a lens that suits the distance. Do not forget the torx screwdriver in your tool kit. Those security screws on outdoor housings are there for a reason, and you will need the right bit to open them.
When you list cameras on your cctv bill of materials, include the model number, the lens type, the housing, and the mounting bracket. It seems obvious, but I have seen bills that just say "camera" and nothing else. That vagueness leads to mismatched parts on site.
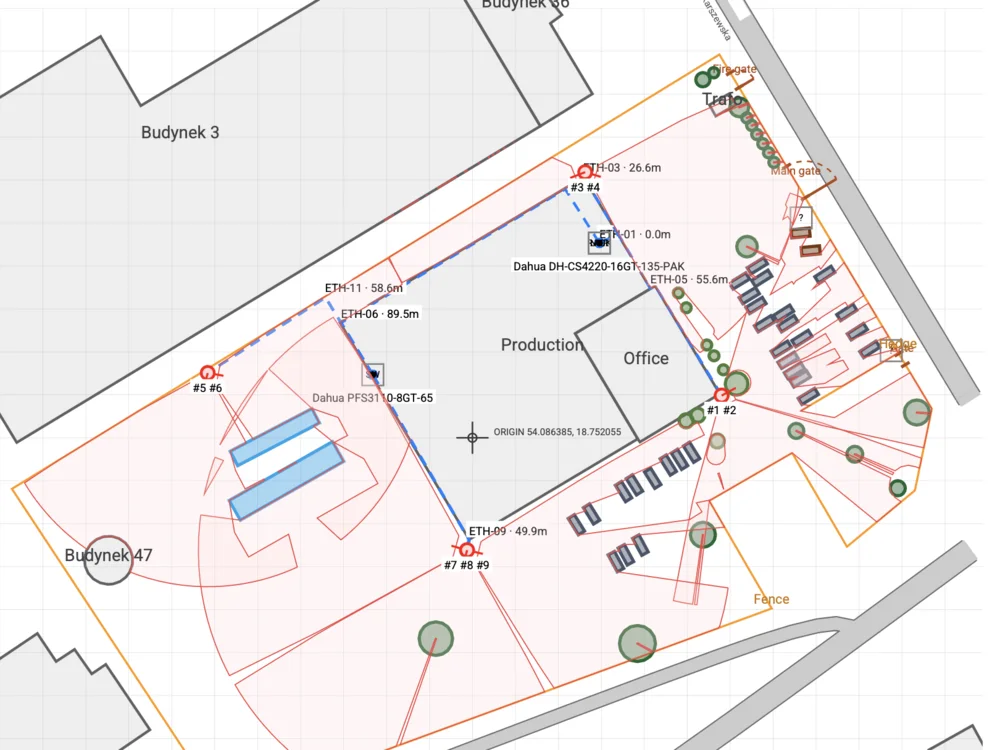
Recording and Storage: NVR, DVR, and Hard Drives
The recorder is the brain of the system. For IP cameras, you need an NVR that supports the number of channels you plan to use. For analog cameras, a DVR handles the same job. Both types record video to hard drives, and the HDD selection matters more than many people realize. Consumer-grade desktop drives are not built for continuous write cycles. Surveillance-rated hard drives, often labeled as "purple" or similar, are designed to run 24/7 without failing prematurely. I once specced a standard HDD in a system for a parking garage, and it died inside eight months. Do not make that mistake.
Your bill of materials should list the recorder by make and model, the number of channels, and the hard drive capacity in terabytes. Also include any additional HDDs if the recorder supports expansion. Some recorders come with drives pre-installed, but many do not, so check before you finalize the list.
Cabling and Connectivity
This is where the cctv bill of materials gets detailed. For IP cameras, you need Power over Ethernet. That means a PoE switch with enough power budget to run all connected cameras. A 16-channel system with cameras that each draw 15 watts needs at least 240 watts of PoE budget. I always add 20 percent headroom for future expansion or for cameras that draw more under load. Also include patch cables, a punch-down tool, and a cable tester. Nothing slows an install like a bad termination that you cannot find until everything is mounted.
For analog cameras, coaxial cable is the standard. RG59 or RG6, depending on the distance. You will need BNC connectors, a crimping tool, and possibly a siamese cable that carries both video and power. If the run is longer than a few hundred feet, consider using a balun or a dedicated video amplifier. Power for analog cameras often comes from a central power supply or from individual plug-in transformers. List each power source, the number of outputs, and the total wattage.
Do not forget the conduit. If you are running cable outdoors or through a ceiling plenum, conduit protects the cable from physical damage and meets code requirements. I have had to re-run cables because I skipped conduit on a job and the building inspector flagged it. Add a junction box at each camera location to keep connections dry and accessible.
Mounting and Enclosures
A camera is only as good as its mount. A flimsy mounting bracket that sways in the wind gives you unusable video. For outdoor cameras, use a heavy-duty bracket rated for the camera's weight. For indoor cameras, a simple surface-mount bracket often works, but check the ceiling material. Drop ceilings need a different mounting plate than drywall does.
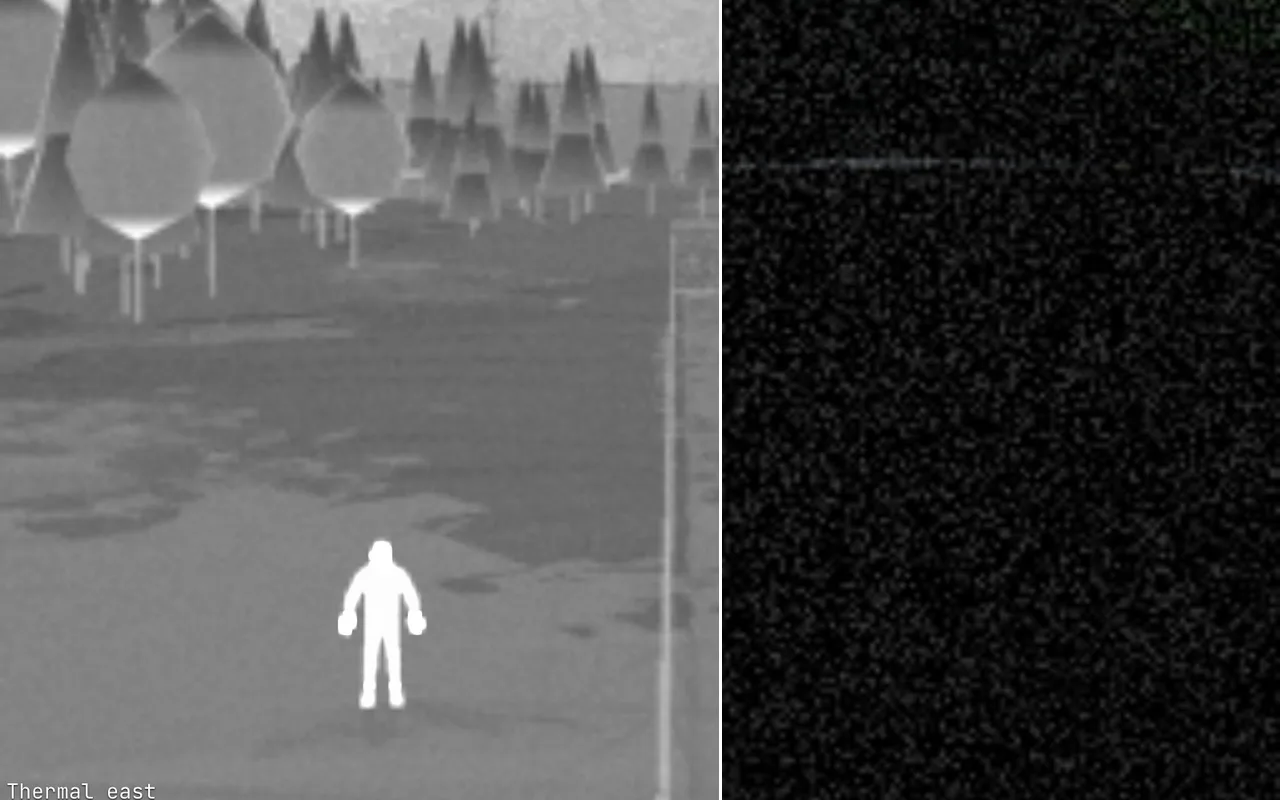
Weatherproof housings are essential for outdoor cameras in wet climates. They protect the camera from rain, dust, and temperature swings. Some housings include a heater and a fan for extreme environments. If you are installing in a cold storage warehouse or a desert location, factor that into the bill. The same goes for the lens. A camera with a fixed lens may be fine for a hallway, but a varifocal lens gives you adjustability that can save you from having to swap out the whole unit later.
Accessories and Tools You Will Actually Use
Beyond the major components, a proper bill of materials includes the small items that make the job go smoothly. Connectors of the right type and quantity, a torx screwdriver set, a cable crimper, a cable stripper, and a multimeter for testing power. I always add a few spare connectors and a short patch cable to every job. They have bailed me out more times than I can count.
If the system includes a monitor for live viewing, list that too. The monitor does not need to be large, but it should match the recorder's output resolution. A 1080p monitor is fine for most setups, but if you are using 4K cameras, you want a monitor that can display that detail.
Putting It All Together
The process of building a cctv bill of materials forces you to think through every step of the installation before you start. It reveals gaps in your plan and helps you avoid the dreaded mid-project trip to the electronics store. I have seen teams that skip this step end up with a system that works but looks messy, with cables dangling and mounts that do not quite fit. That kind of outcome hurts your reputation and your bottom line.
A well-structured bill also makes quoting easier. When you present a client with a clear list of components and their costs, they see the value in what you are providing. It builds trust. And when you hand off the system to a maintenance team, they have a record of exactly what was installed, which makes future upgrades or repairs straightforward.
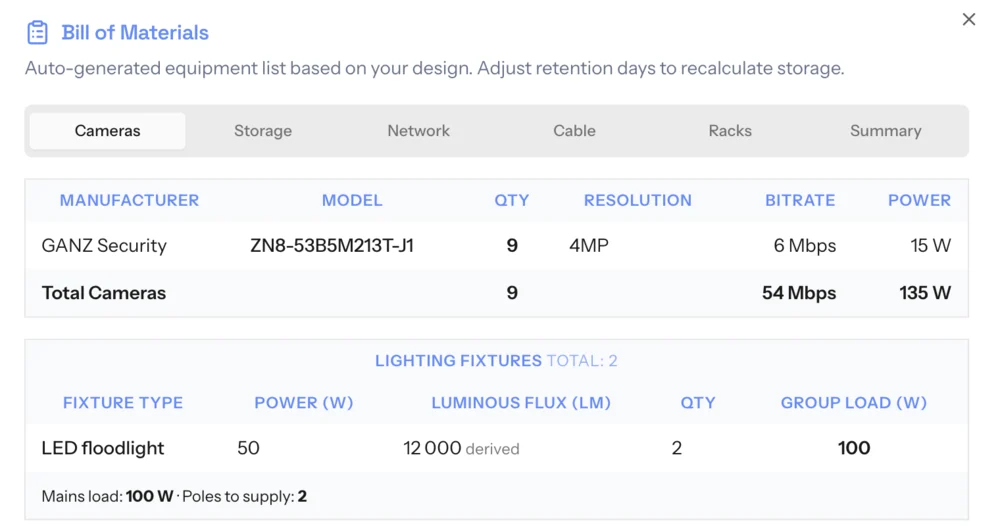
If you are new to designing CCTV systems, start simple. Lay out your camera positions, figure out the distances for cabling, and then build your bill from there. Use a tool that helps you visualize the layout and generate a parts list automatically. That is where something like CCTVplanner comes in. It takes the guesswork out of the process and helps you produce a professional document every time.
In the end, the difference between a smooth install and a nightmare often comes down to how well you prepared. A complete cctv bill of materials is that preparation made visible. Take the time to get it right, and your install will thank you for it.